How to Take a Screenshot on Mac – All Shortcuts Explained
Capturing screen content on macOS requires specific keyboard combinations that vary by desired output area. Apple provides multiple built-in methods ranging from instant full-screen grabs to detailed selection tools, all accessible through standardized shortcuts introduced consistently across macOS versions from Mojave through Sequoia.
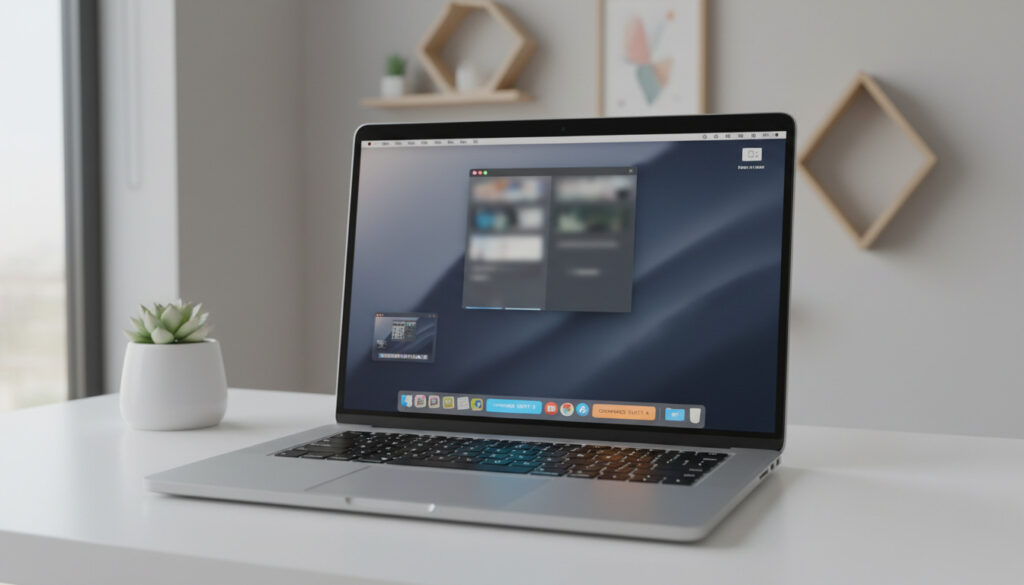
Understanding these Screenshot on Mac capabilities ensures efficient documentation of visual information without third-party software.
How to Take a Full-Screen Screenshot on Mac
Pressing Shift + Command + 3 captures the entire screen immediately. This shortcut creates PNG files on the Desktop for each connected display, naming them sequentially with timestamps.
| Capture Type | Shortcut | Output Location | Special Notes |
|---|---|---|---|
| Full Screen | Shift + Command + 3 | Desktop | Creates separate files for each monitor |
| Selected Portion | Shift + Command + 4 | Desktop | Drag crosshair to define area |
| Specific Window | Shift + Command + 4, then Space | Desktop | Camera icon appears; click target window |
| Full Screen to Clipboard | Shift + Command + Control + 3 | Clipboard | No file saved; paste directly |
| Partial to Clipboard | Shift + Command + Control + 4 | Clipboard | Drag selection, copied not saved |
| Screenshot Toolbar | Shift + Command + 5 | User-defined | Includes timer and save options |
- Adding Control to any shortcut copies the image to clipboard instead of saving to Desktop.
- Hold Option during window capture to eliminate the shadow effect around the window frame.
- A thumbnail preview appears in the bottom-right corner for approximately five seconds after capture.
- File format defaults to PNG with the naming convention “Screen Shot [date] at [time].png”.
- Functionality remains identical across macOS Ventura, Sonoma, and Sequoia.
- Systems running macOS versions prior to Mojave lack the Screenshot app toolbar.
How to Capture a Selected Portion of the Screen on Mac
Shift + Command + 4 transforms the cursor into a crosshair for precise selection. Drag to define the capture area; release to save.
Several modifier keys enhance this selection mode. Pressing Space while dragging locks the selection size while allowing repositioning. Hitting Escape cancels the operation entirely. Holding Shift after starting the selection toggles between horizontal and vertical locking.
Users who prefer mouse-based control can access identical functionality through the Mac Screenshot Shortcuts toolbar via Shift + Command + 5 and selecting the partial screen option.
How to Screenshot a Specific Window or Menu on Mac
Window-specific capture requires Shift + Command + 4 followed immediately by the Space bar. The crosshair becomes a camera icon that highlights windows when hovered.
Clicking captures the selected window with its shadow by default. Holding Option while clicking removes this shadow, producing a cleaner image with transparent background suitable for documentation.
This method also captures menu bars and dropdown menus accurately. Hover over any menu to highlight it before clicking, ensuring precise documentation of interface states.
Where Screenshots Are Saved and Advanced Management Features
Default Save Locations
macOS stores screenshots on the Desktop by default. Files appear immediately with timestamps, accompanied by a temporary thumbnail in the bottom-right corner. Clicking this thumbnail opens a quick editing interface for immediate annotation, cropping, or deletion.
Hold the Control key alongside any screenshot shortcut to copy directly to clipboard rather than saving to Desktop. This bypasses file creation entirely, allowing immediate pasting into documents or image editors.
Changing Save Destinations
Users modify default save locations through the Screenshot app toolbar. Press Shift + Command + 5 and click Options to select alternative destinations including Documents, Clipboard, Mail, Messages, Preview, or custom folders.
Timer and Delayed Capture
The Screenshot toolbar provides timer delays of 5 or 10 seconds. Access these through Shift + Command + 5 > Options > Timer. This delay allows preparation of menus, tooltips, or transient interface elements that require setup time.
Systems running macOS High Sierra or earlier cannot access the Screenshot toolbar or timer functionality. These older versions support only the basic keyboard shortcuts without on-screen controls or save location modification.
Post-Capture Editing
The thumbnail preview enables immediate markup with shapes, text, signatures, and highlighters. Users who select Preview as the destination in Screenshot app options open captures directly in the Preview application for more advanced editing including rotation and color adjustment.
Native macOS screenshot tools from Mojave through Sequoia do not support scrolling capture for full webpages or lengthy documents. Third-party applications such as CleanShot X or Xnapper provide this functionality along with desktop icon hiding and sensitive information redaction.
Evolution of Screenshot Capabilities Across macOS Versions
- Pre-Mojave (10.13 and earlier): Basic shortcuts only; screenshots saved exclusively to Desktop with no toolbar interface.
- macOS Mojave (10.14): Introduction of the Screenshot app toolbar, timer functionality, and save location options.
- macOS Catalina through Monterey: Continued stability with identical shortcut schemes and toolbar features.
- macOS Ventura, Sonoma, and Sequoia: Maintained feature parity with Mojave baseline; no significant changes to shortcut architecture or capture methodology.
Alternative screen recording access remains available through QuickTime Player’s File menu for users requiring video capture rather than static images. For those needing to expand their Mac’s capabilities, you can install memory in laptop.
Established Capabilities and Persistent Limitations
| Verified Functionality | Uncertain or Unsupported Features |
|---|---|
| Keyboard shortcuts function identically across Intel and Apple Silicon (M1/M2/M3) Macs | Native scrolling screenshot capture for web pages remains unavailable |
| PNG format default with timestamped filenames | No built-in OCR (text recognition) in screenshot utilities |
| Shadow removal via Option key | Future format changes to HEIF or other standards unconfirmed |
| Multi-monitor support with separate files per display | Customizable keyboard shortcuts not natively supported |
Native Functionality Compared to Third-Party Solutions
Built-in macOS tools satisfy standard documentation needs efficiently. However, professional workflows requiring advanced features depend on external software. Applications like CleanShot X provide scrolling capture capabilities that native macOS screenshot utilities lack, alongside annotation tools and cloud uploading.
Accessibility considerations differ between native and third-party tools. While Apple’s Screenshot app supports basic VoiceOver interaction, specialized accessibility software may offer superior screen reader compatibility for visually impaired users.
Official Documentation and Expert Verification
Apple Support documentation confirms that screenshot shortcuts remain consistent across hardware generations.
“To capture the entire screen, press Shift-Command-3. To capture a portion of the screen, press Shift-Command-4, then drag the crosshair pointer to select the area.”
“Press Shift-Command-5 to see onscreen controls for recording the entire screen, recording a selected portion of the screen, or capturing a still image of the screen.”
Key Takeaways for macOS Users
Mastering three primary shortcuts—Shift + Command + 3 for full screen, Shift + Command + 4 for selection, and Shift + Command + 5 for controls—covers all standard screenshot needs on modern macOS systems. The Mac Screenshot Shortcuts remain stable across hardware generations, with Desktop storage and PNG format serving as consistent defaults.
Additional Questions About Mac Screenshots
What are the best Mac screenshot apps?
CleanShot X and Xnapper offer scrolling capture, annotation, and cloud sharing beyond native tools. For basic needs, the built-in Screenshot app suffices.
How does screenshot work on Mac M1/M2?
Shortcuts function identically on Apple Silicon and Intel Macs. Performance differences are negligible for standard screenshot operations.
Can I screenshot Touch Bar on MacBook?
Press Shift + Command + 6 to capture the Touch Bar display specifically. Files save to Desktop with standard naming conventions.
How do I take a scrolling screenshot on Mac?
Native macOS lacks scrolling screenshot support. Third-party apps like CleanShot X or browser extensions are required for full-page web captures.
Why are my screenshots not saving to Desktop?
Check if you pressed Control (copies to clipboard instead). Alternatively, verify the save location in Shift + Command + 5 > Options hasn’t been changed from Desktop.
More related posts
 What Is Collagen Good For – Science on Skin, Joints, Bones
 Congressman Moore Falls Asleep During All-Night Markup
 Which Special Day Is Today – World Health Day on April 7
 Can Dogs Eat Mango? Safety Guide, Benefits & Risks
 Public Library Near Me: Ireland Dublin Free Access Guide
 Western Wear Near Me: Ireland Stores & Brands Guide
 How to Play Wordle – Rules, Colors and Tips Guide
 Mets vs Atlanta Braves Match Player Stats – Box Score, Leaders & Highlights